
Introduction
Cracked tile and crumbling grout can make any room look worn and neglected. Fortunately, replacing damaged tile and grout restores beauty, prevents moisture problems, and protects the surface underneath. Many homeowners in Gilbert, Mesa, and Tempe Arizona repair damaged tile that is cracked, along with loose or stained grout.
Step 1: Remove Damaged Grout
Before starting the repair, inspect the entire area carefully to identify all sections that require attention. Next, remove broken grout with an electric grout removal tool or an oscillating multi-tool with a diamond grit grout blade. During this step, work slowly because rushing can chip nearby tiles and create more damage.
Step 2: Remove Damaged Tile
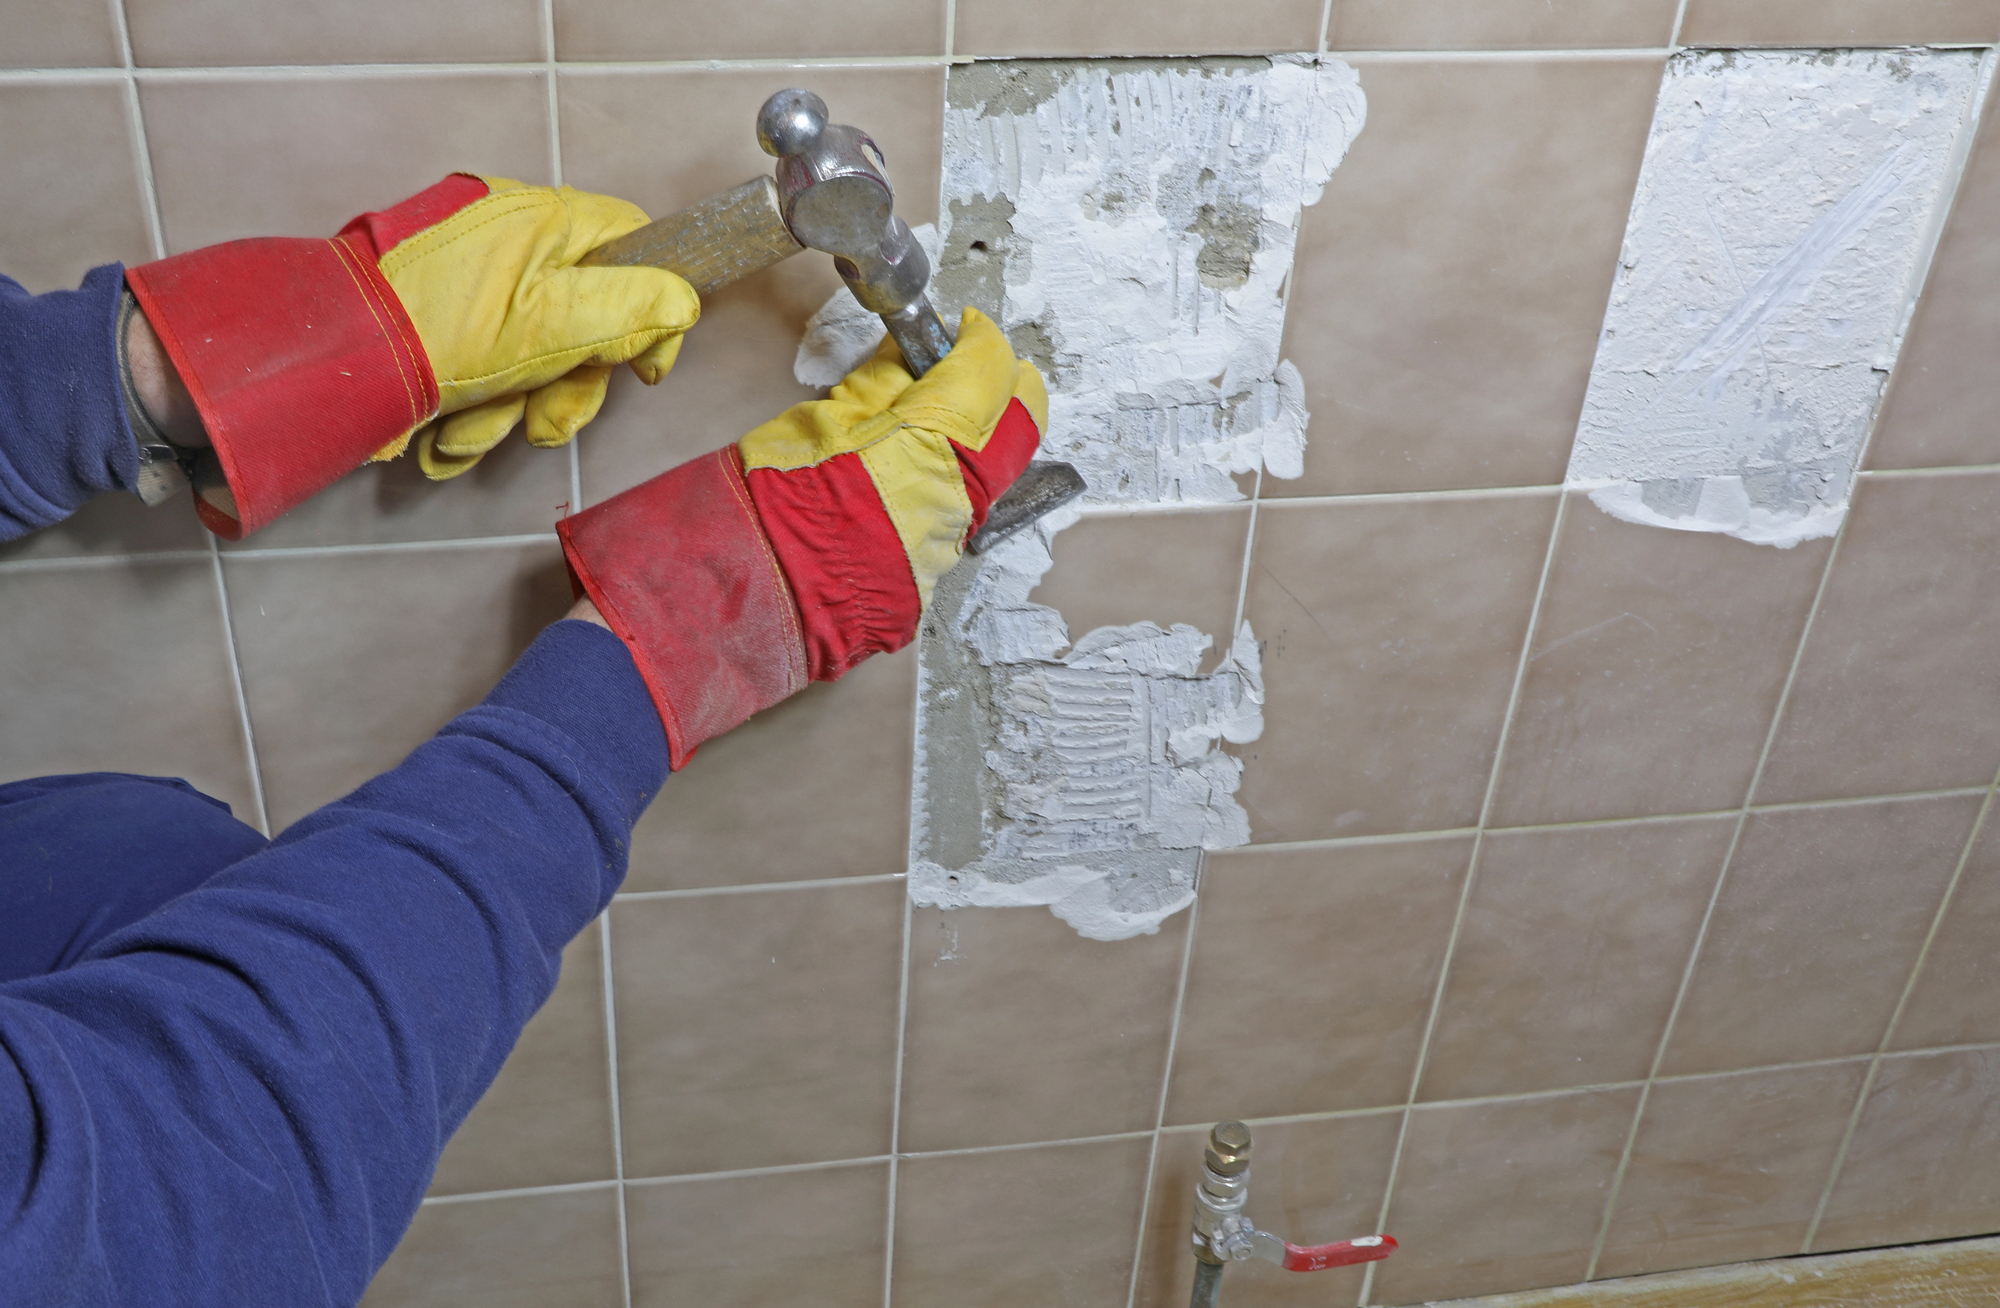
After clearing the grout, lift the damaged tile with a chisel and hammer. Right after that, clean away old adhesive and debris before installing the new tile. In addition, check backing for water damage or uneven spots and repair. Ultimately, a smooth surface helps the replacement tile sit correctly and prevents future cracking.
Step 3: Install the New Tile
Once the area feels clean and level, spread fresh thin-set adhesive evenly. Press the new tile firmly into place and use spacers to maintain straight grout lines. Afterward, allow the adhesive to dry fully before applying new grout. Clean adhesive that gets on face of tile or interfers with grouting tile.
Step 4: Apply and Finish Grout
Grout restoration improves appearance and seals gaps between tile against moisture. Always choose a grout color that matches the surrounding tile for a seamless finish. After grouting wipe excess grout with a damp sponge and polish the tile surface after the grout has dried.
Wrapping Up
Regular tile maintenance keeps kitchens, bathrooms, and entryways looking sharp. More importantly, quality repairs prevent costly water damage and extend the life of your tile. You should always seal grout to protect it from being stained.